
No bride is complete without the right hair and makeup, and this certainly rang true for Couturing’s Bridal Week editorial, Vow To Be Different, which featured the beautiful Nadia Coppolino. Hair and makeup artist Andrea Micich created three bridal looks on Nadia to suit the different styles of gowns featured in the editorial. Keep reading to learn how to achieve the look at home, as well as Andrea’s expert tips on perfect wedding hair and makeup to last all day.
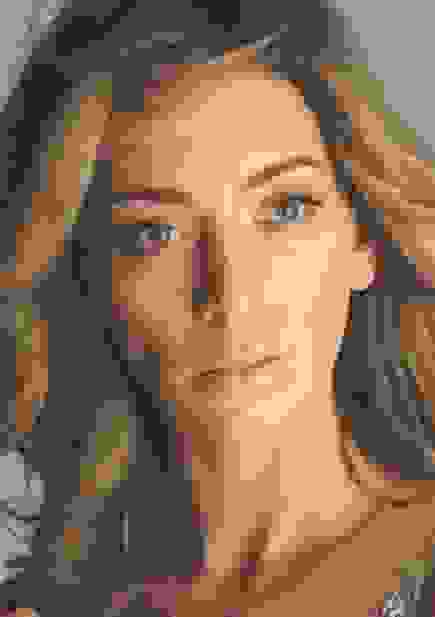
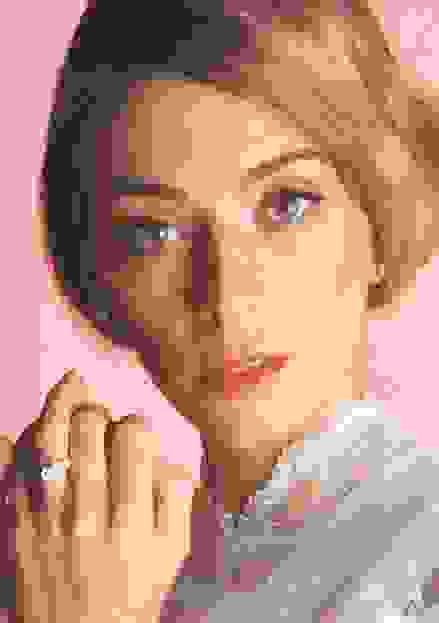
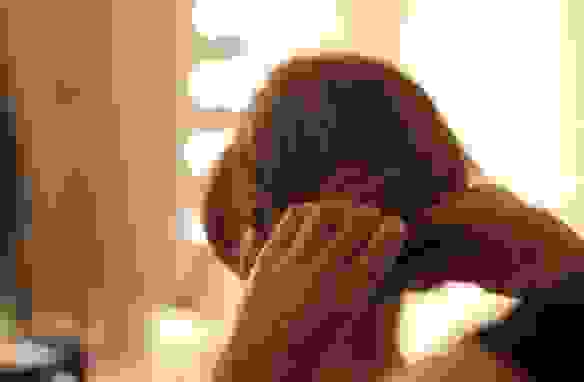
LOOK #1: Natural and romantic
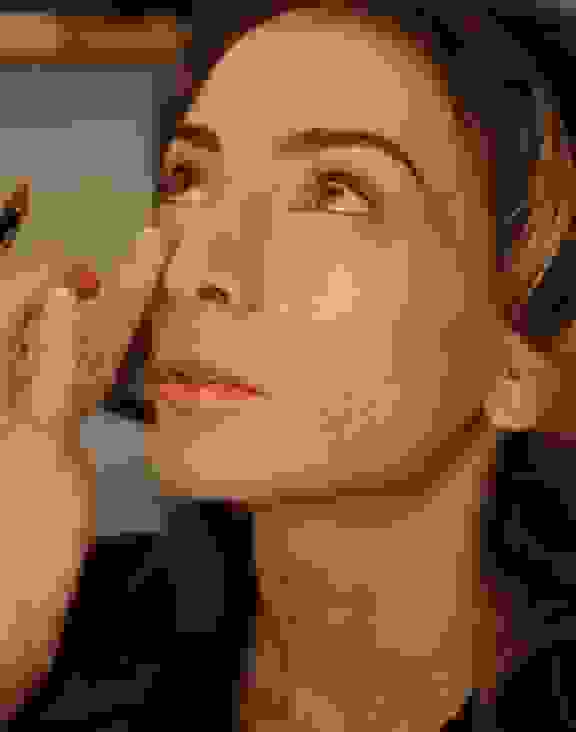
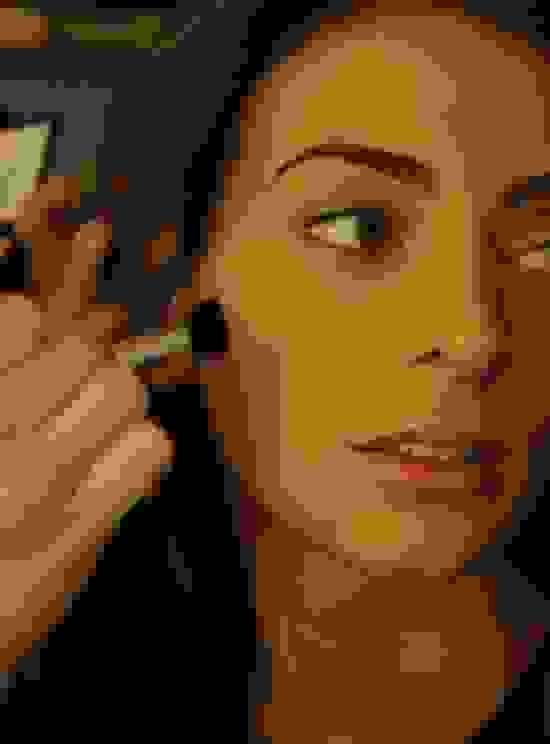
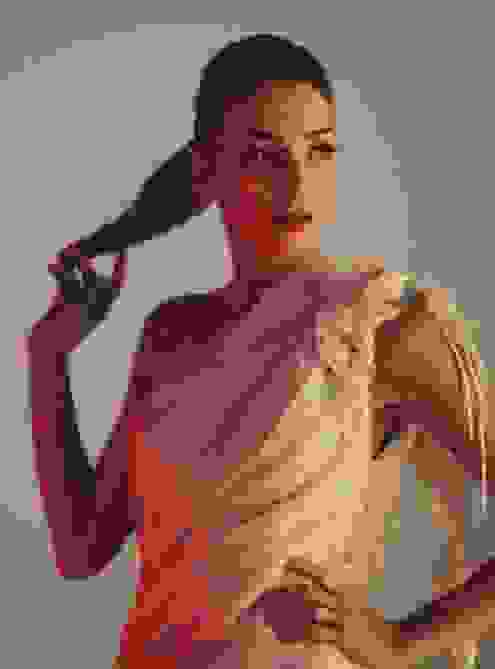
The first look featured gentle waves and a soft, coppery eye with fresh, dewy skin.
HAIR
1. Centre-part hair
2. Brush well with a paddle brush to promote volume
3. Section hair and work in plenty of volumising mousse (Catwalk by TIGI Curlesque Lightweight Mousse) before drying the product into the hair.
• Prepping hair well is vital for wedding hairstyles that need to keep perfect for an entire day.

4. Section hair. Wrap pieces of hair around a 1½ inch curling wand. Allow to cool hanging downwards in form.
• Alternate the direction in which you create each curl. This will give more bounce and dimension to the style.
• Wear a wool glove to avoid burning yourself, and to maximise the effectiveness of the wand
• For tighter waves, use a smaller curling wand, or curl the wave in on itself and pin in place to cool.
5. Leave the curls to cool in form for about 15 minutes (Andrea did Nadia’s makeup in this time before coming back to the hair). Gently brush out the curls with a paddle brush.
6. To create lasting volume, tease sections of hair at the roots only and spray closely with hairspray.
7. Comb fingers through the pieces of hair that frame the face for a softer look.
8. Mist a flexible hairspray all over to set the style.
MAKEUP:
1. Mix foundation with a luminous primer (Shu Uemura Face Architect mixed with Shu Uemura Youthful Radiance Generator). This gives a dewy, radiant finish to the skin, and a primer is essential for lasting makeup.
2. Conceal under the eyes and over any imperfections. Set with a light dusting of translucent powder.
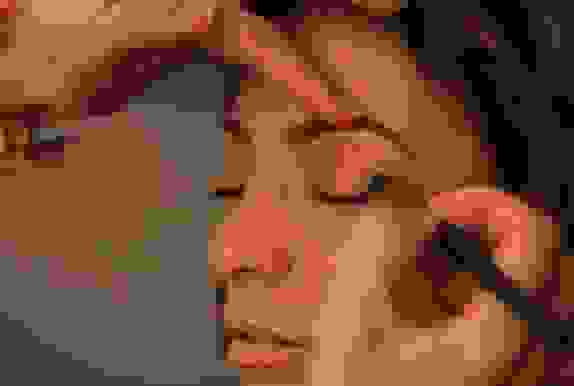
3. Contour the face with a bronzer (NARS Bronzing Powder in Laguna)

4. Apply blush on the cheekbones (NARS Blush in Lustre)
• Blend the blush well into the contouring colour to avoid ‘stripy’ cheeks.
• Those with dry skin should use a cream blush, rather than a powder one. Andrea recommends Stila Convertible Color.
5. Use liquid highlighter across the bridge of the nose, the point of the chin and above the cupid’s bow.
• Those with warm skin-tones should seek a gold-based highlighter
• Those with cool or pale skin-tones should seek silver-based highlighters
6. Fill in brows so that they are full, but natural. Nadia already had perfect brows so this step was unnecessary, but Couturing loves Illamasqua Eye Brow Cake.
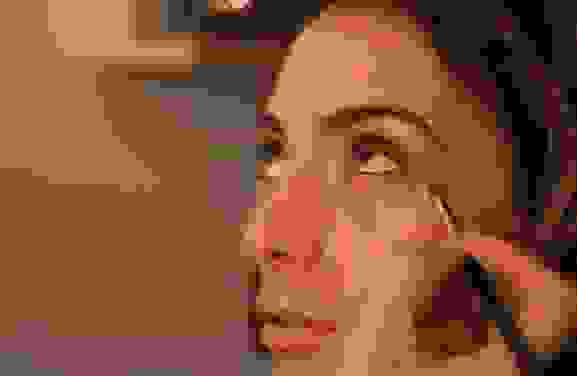
7. Apply a metallic copper eyeshadow all over the lid, blending lightly up to the orbital bone (try Shu Uemura Pressed Eye Shadow in Metallic Bronze)
8. Use a pearly, light pink shadow to highlight beneath the brow and blend into the inner corners of the eyes. (try Shu Uemura Pressed Eye Shadow in Pearl Delicate Pink)
• Bridges should avoid using too much highlighter on the eyes, particularly if they are trying to achieve this soft, romantic look.
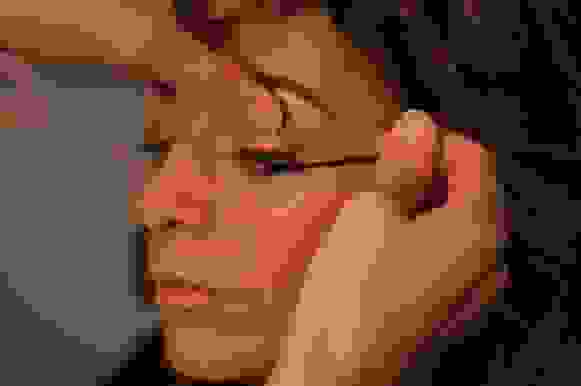
9. Smudge the same copper eyeshadow along the lower lashline.
10. Apply white eyeliner along the waterline to wake up the eyes and to allow the copper eyeshadow to stand out.
• White eyeliner can look harsh when first applied, but it will distribute evenly as you blink your eyes.
11. Apply waterproof mascara (Kevyn Aucoin The Mascara)
• Using a wand with a small brush allows for precise application, and is also great for bottom lashes. You could either purchase disposable mascara wands, or try a small brush mascara such as Clinique Bottom Lash Mascara or Guerlain Le 2 de Guerlain Mascara.
12. Apply a false half-lash to the outer half of the eye.
• Half-lashes look more natural and are more comfortable to wear, while still giving that flirty, fluttery look.

13. Apply a matte nude-pink lipstick (Limecrime Lipstick in Coquette) with a lip brush, then press the product into the lip with a finger to soften the effect and create longer wear.
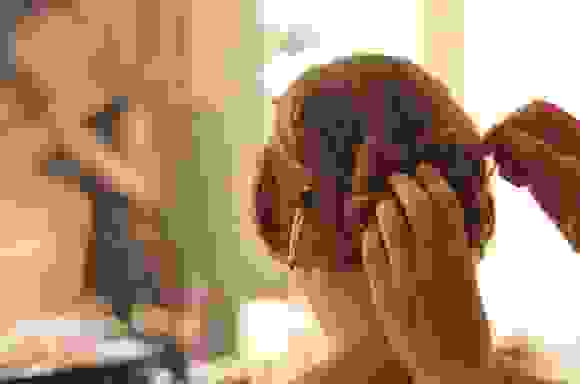
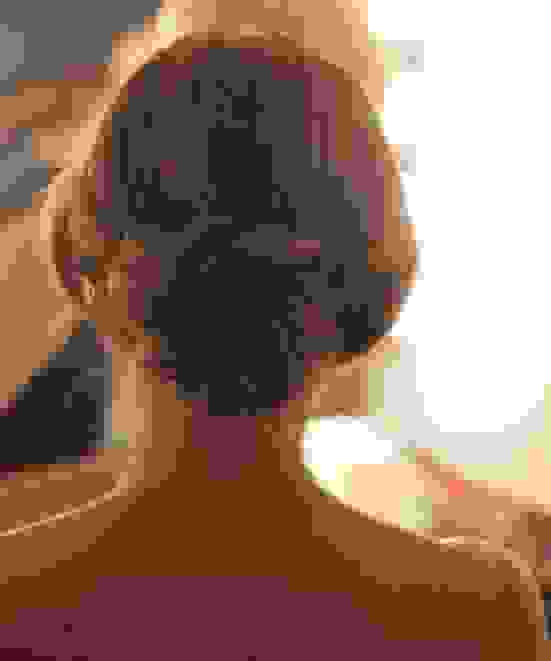
LOOK#2: Girly sweetheart
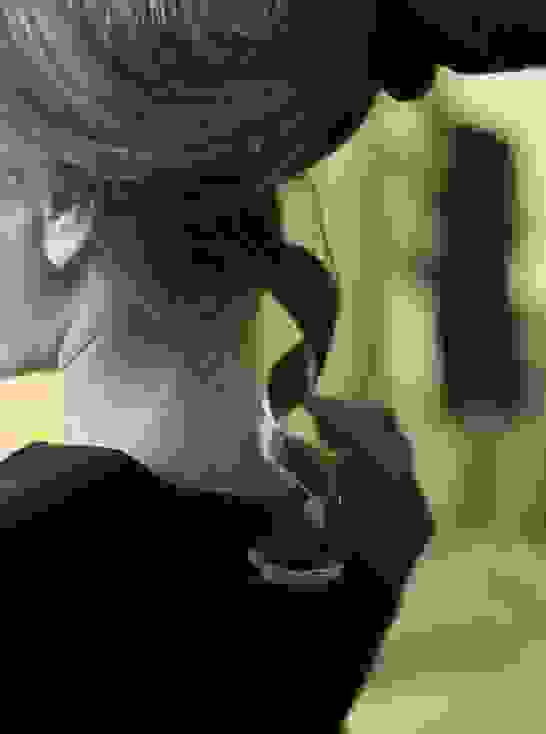
For this second look, Nadia’s hair was pulled up into a delicate bun with soft pin-waves to one side. The makeup was made slightly stronger with a defined eye and a berry lip.
HAIR:
1. Part hair deep on one side.
2. Follow Steps 2 – 5 of the hair tutorial for Look #1
3. Brush waves out well for texture and volume.
4. Place hairdressers clips along the hair framing the face where pin-waves are desired. For best results, hair should be warm, and cool with the clips in place.
5. Pull hair back into a low ponytail and secure with a hair bungee. The ponytail should be secured close to the head, but allow the hair over the crown to sit softly and loosely.
6. Wrap the ponytail around its base in an anti-clockwise direction to form a bun. The bun should be firm but loose.
7. Push the bun flat against the head and allow it to fan out. Secure with bobby pins. Mist over with hairspray to set the style.
MAKEUP:
1. Follow Steps 1 – 3 of the makeup tutorial for Look #1
2. Apply Stila Convertible Color in Bruise on the cheekbone with a dense-bristled brush. Buff well into skin and blend with bronze contour colour.
3. Follow Steps 5 – 10 of the makeup tutorial for Look #1
4. Use a matte brown eyeshadow to define the upper lash line. Press the shadow along the lash line and blend up slightly for a soft but defined look.
5. Follow Steps 11 – 12 of the makeup tutorial for Look #1.
6. Apply Stila Convertible Colour in Bruise to the lips. Press in well with a finger to stain the lip.
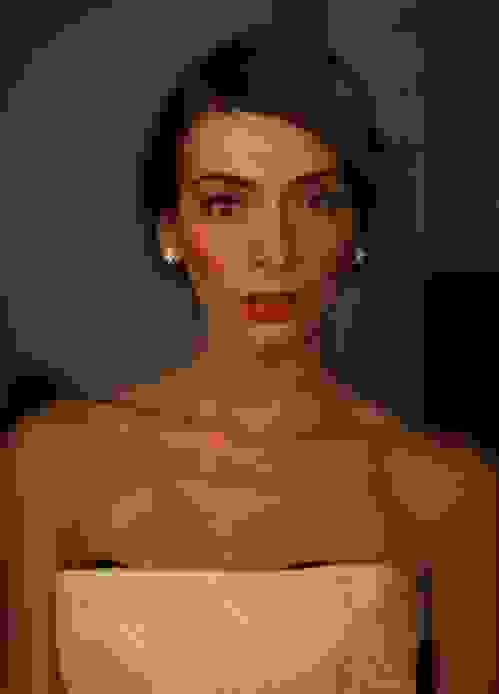
LOOK#3: “The Audrey”
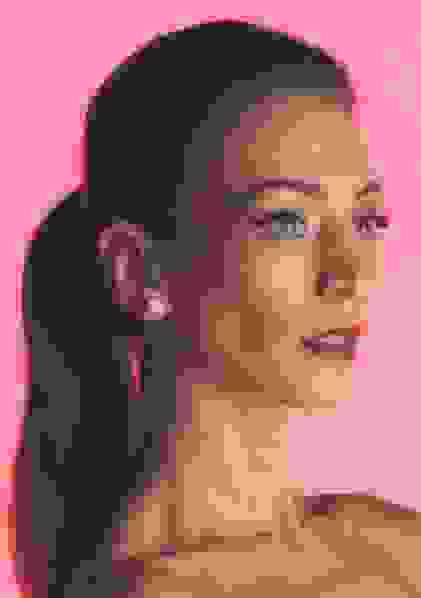
With the most dramatic look of the shoot, Andrea created Audrey Hepburn-inspired makeup and gave Nadia a sleek, modern ponytail.
HAIR:
1. Follow Steps 1 – 5 of the hair tutorial for Look #1. However, curl hair in the same direction (rather than in alternate directions as in Step #4).
2. Brush hair out well with a paddle brush.
3. Section hair horizontally into two parts.
4. Take the bottom half of the hair and pull it back into a ponytail, placed slightly above the ears. Brush the sides well to eliminate bumps, and keep the hair tight on the sides of the head. Secure well with a hair elastic.
5. Take the remaining top half of hair together, brushing as you go. Hold all hair together to form one ponytail. Create a little volume on the crown of the head, but remember to keep the sides sleek and tight.
6. Secure the pony with a bungee elastic.
7. Take a small section of hair from the pony and wrap it around the ponytail base to disguise the elastic. Secure with a bobby pin.
8. Mist over hairspray to set the hairstyle.
MAKEUP:
1. Follow Steps 1 – 6 of the makeup tutorial for Look #1
2. Apply a soft, pearlescent brown shadow all over the lid.
• For mature skin, Andrea recommends using a matte shadow instead.
3. Use a pearly, light pink shadow to highlight beneath the brow and blend into the inner corners of the eyes. (try Shu Uemura Pressed Eye Shadow in Pearl Delicate Pink)
4. Use a gel liner (Shu Uemura Painting Liner in Black) to draw a strong line from the inner corner of the eye to a dramatic flick.
• Start by working from the middle of the eyelid outwards. Once you finish the flick, return to the middle of the eye and work inwards to the inner corner.
• Creating a wing can be difficult. Practice makes perfect, but as a cheat, Andrea suggests using sticky tape as a template to frame the shape of the wing, then filling in the space with liner before removing the tape.
5. Follow Steps 10 – 12 of the makeup tutorial for Look #1.
6. Apply a deep burgundy-red colour to the lips (Napoleon Perdis Lip Pencil in Rococco Red)
CLICK HERE FOR THE “VOW TO BE DIFFERENT” BRIDAL EDITORIAL AND INTERVIEW WITH NADIA COPPOLINO
Click here to view Nadia’s blog, Chronicles of Nadia
Images: Wanda Chin for Couturing.

Leave a Reply