
Here at the Couturing office, we are crazy beauty fans and regularly compare notes on what product is a must-have, and what should be left on the shelf. As much as we love a full face of makeup, there are days when you want to go into work feeling light and effortless and just wearing lash and brow tint from the famous lash bomb salon. Sometimes, you don’t want anyone to know you wear any makeup at all (gasp!).
For all of you more naturally inclined ladies (and boys) who have wanted to know how to pull off a natural daytime look that is barely clockable, follow our step by step guide below!
FYI + PS: There is a lot of IT Cosmetics products featured in our tutorial below. This is not a sponsored post – we’re just obsessed with the product!
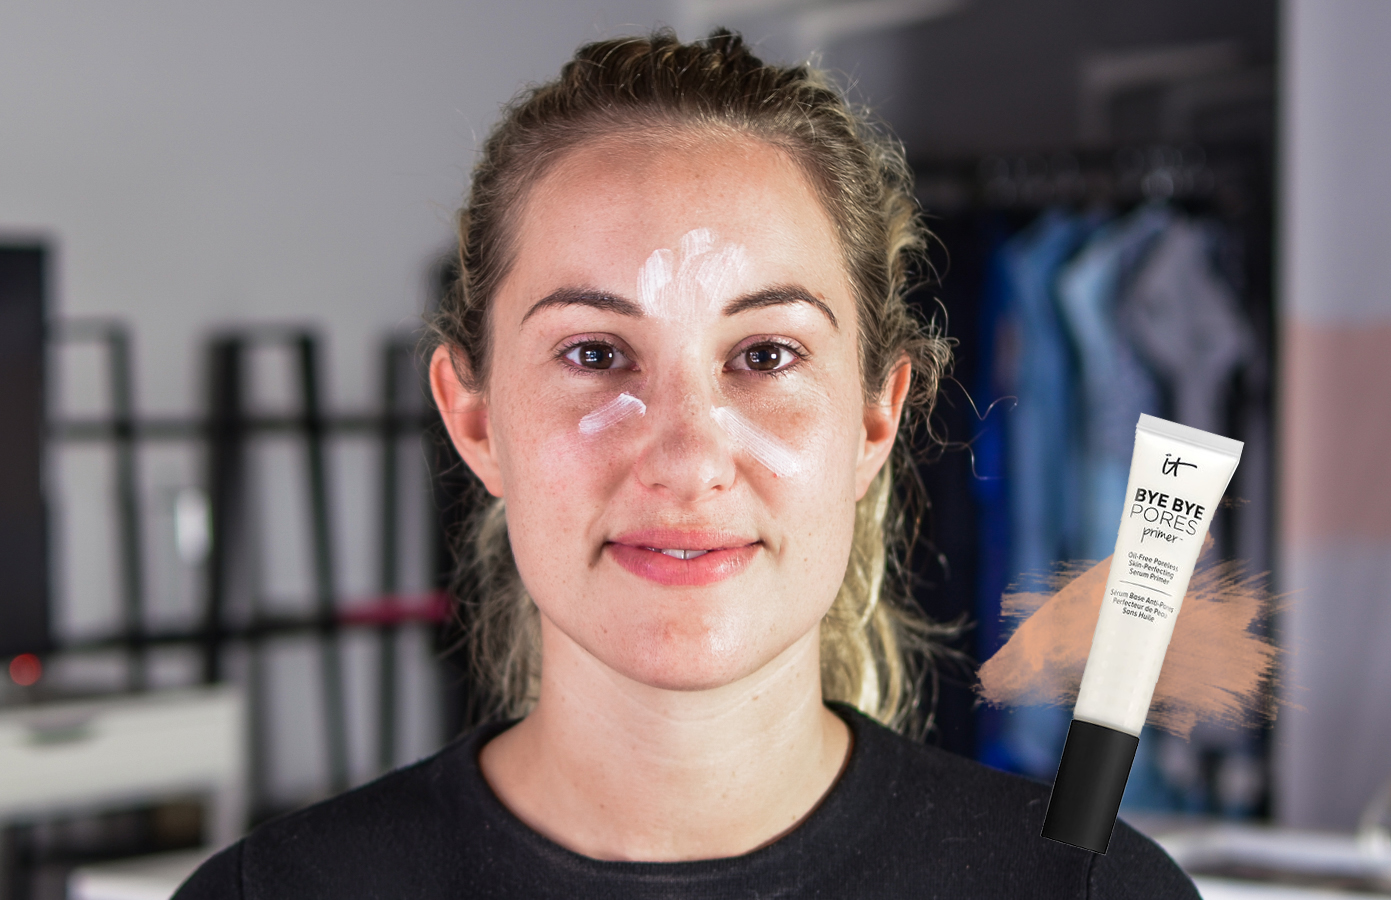
Step 1: Who loves having pores? Nobody – OK. A primer is essential to protecting your skin from makeup and allowing it to glide on effortlessly. The Bye Bye Pored Primer from IT Cosmetics also fills in any gaps in your pores, creating a totally smooth base for foundation.
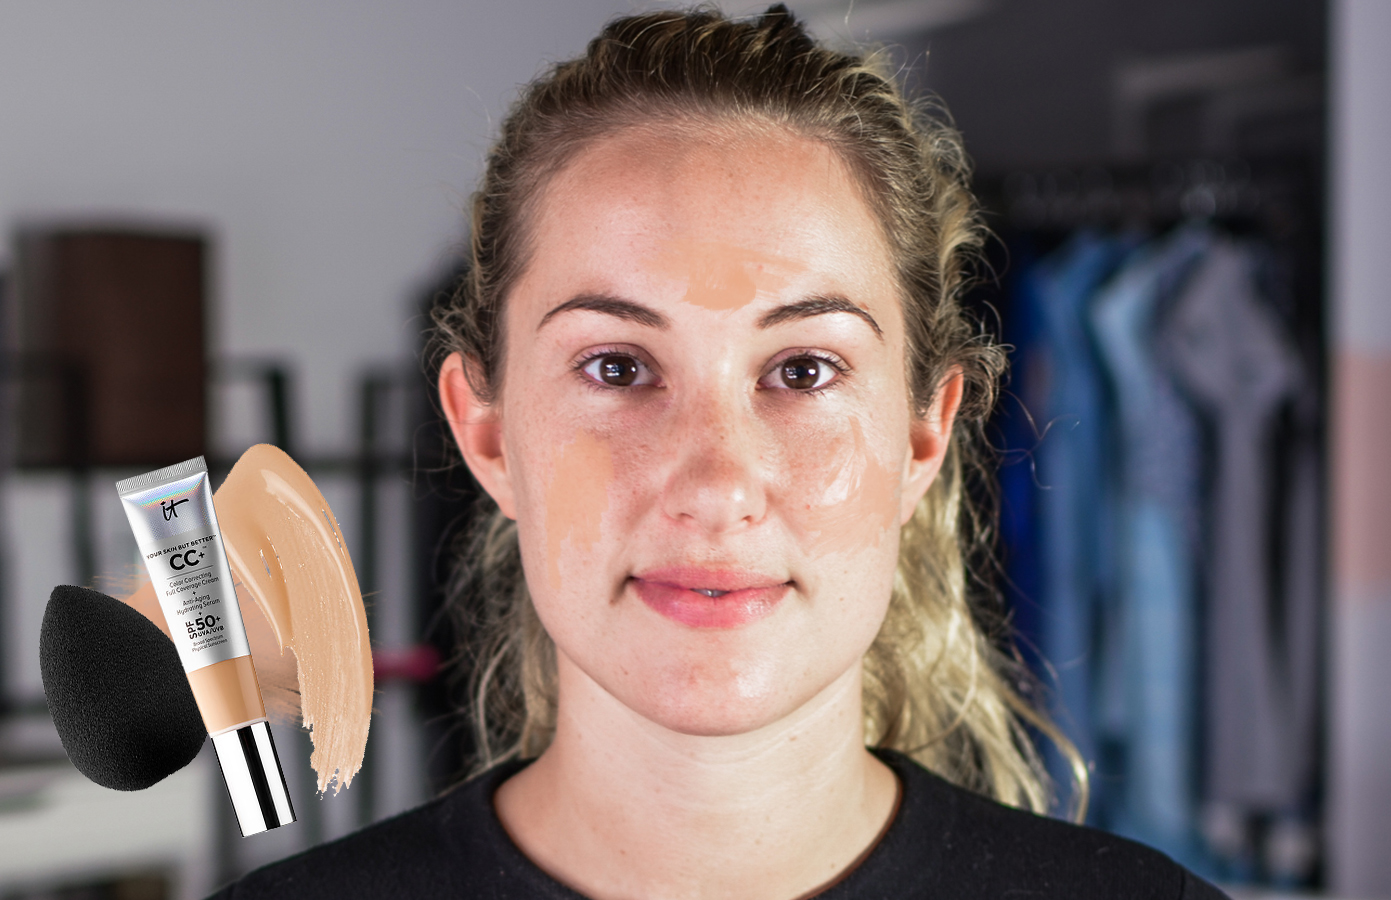
Step: Let’s set up your foundation with something that is barely noticeable. The Your Skin But Better CC Cream from IT Cosmetics glides on like a moisturiser, but covers like a full coverage foundation. Blend with your favourite beauty blender.
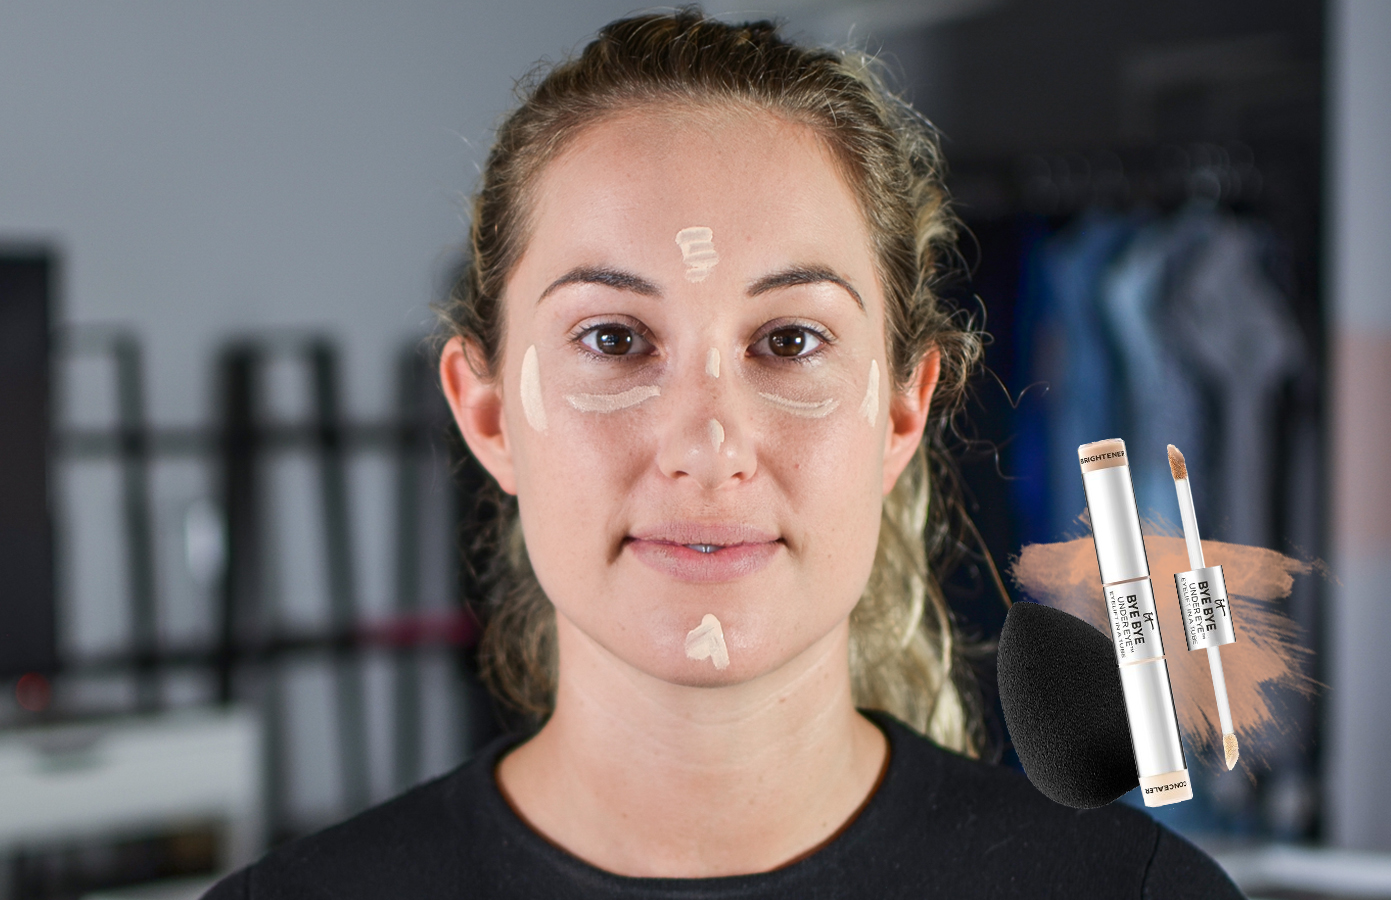
Step 3: Conceal naturally. The Eyelift in A Tube from IT Cosmetics has two different shades for concealing. The darker shade is meant to applied for your undereyes to cover up any dark circles while the lighter side goes on anywhere you want a natural glow. The product moves like butter so don’t every worry about it betraying you. Once blended in with a beauty blender, it highlights and hides everything – and who doesn’t love a “twofer” ?!
Cream foundations are now set. Time to set and move onto powders!
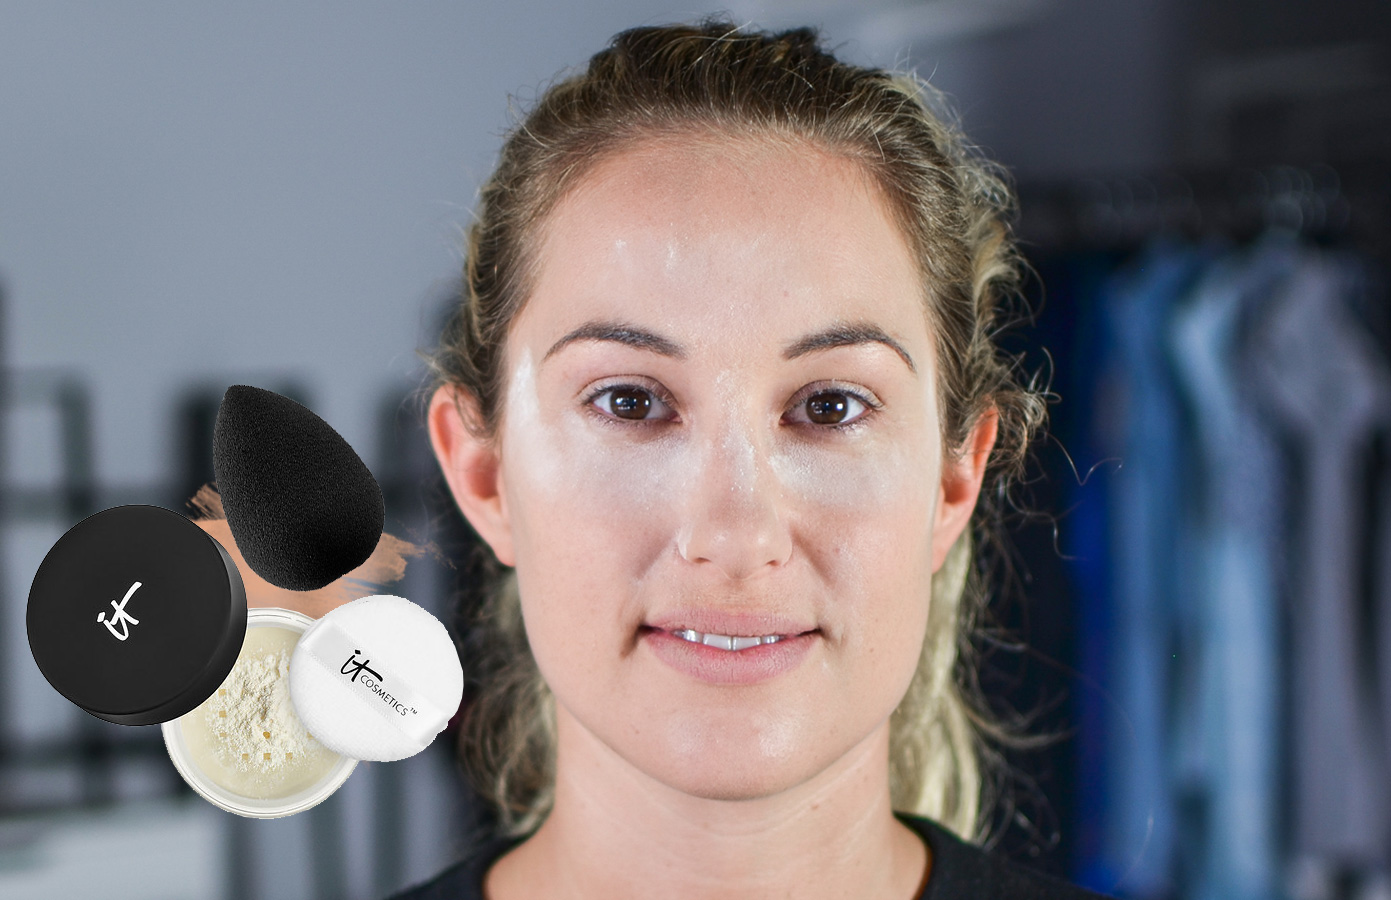
Step 4: Baking. If there’s anything we hate more than pores, it’s creases and greasy skin. The Bye Bye Pores Silk HD Anti-Aging Micro-Powder from IT Cosmetics fixes all of those problems! Apply with your beauty blender onto your under eyes, areas that have been highlighted and anywhere prone to creases like your forehead or nasolabial folds. Make sure you apply the loose powder quickly as you don’t want your cream foundations settling into any creases.
Step 5: Leave the powder to “bake” for at least 5 minutes. The combination of your body heat, powder and natural oils will set everything in place and creating the most flawless base you’ve ever placed on your face.
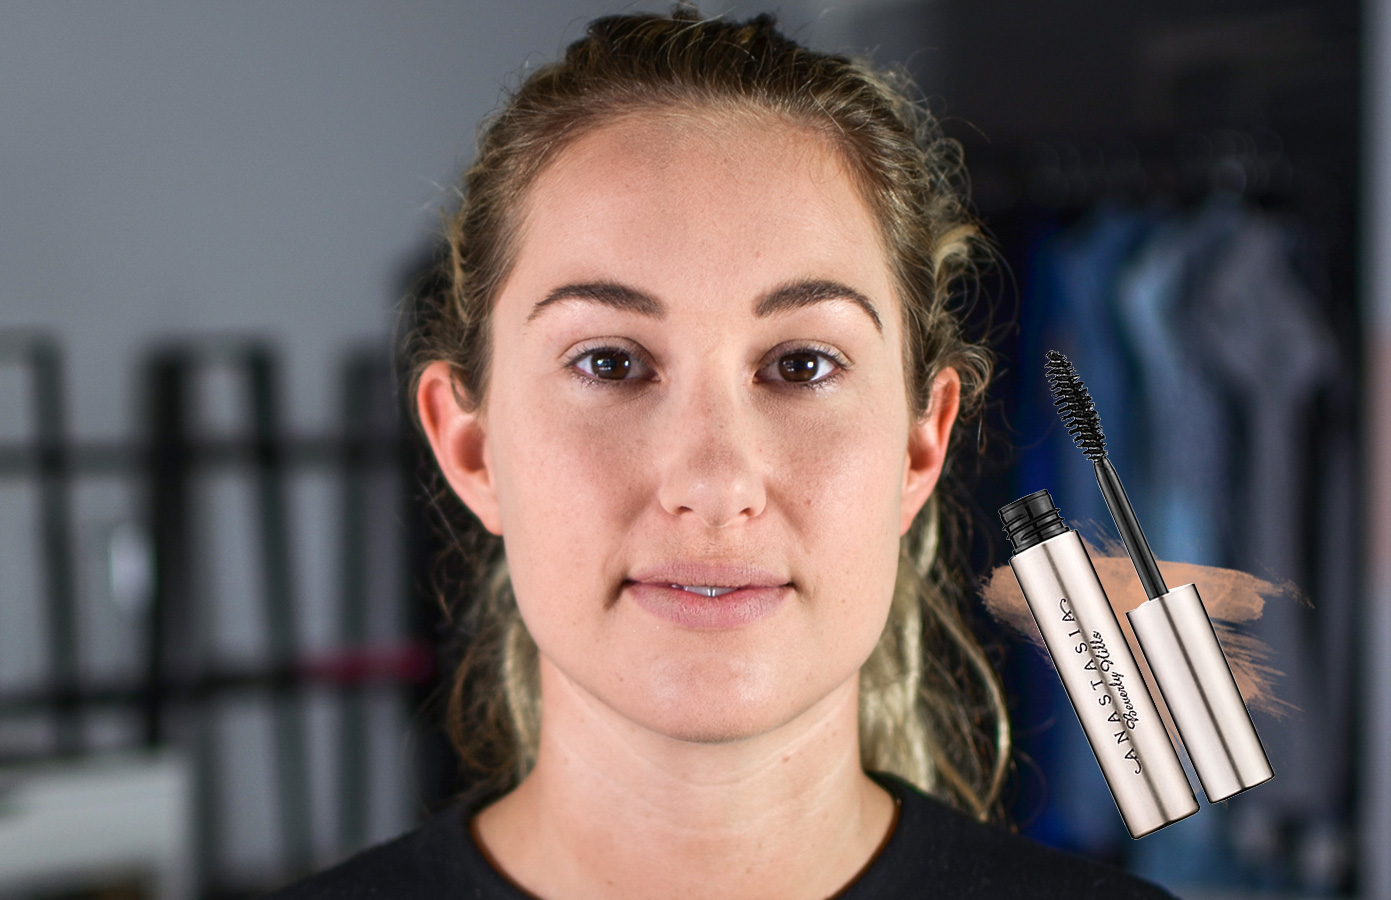
Step 6: Brows. The Clear Brow Gel from Anastasia Beverly Hills is the most trustworthy brow aid we have ever tried. Keeping everything in place, this is the brand to go to for natural and easy to apply brows. The product is clear, so you’re not adding any pigment, just defining the brows into a place that is much more approachable.
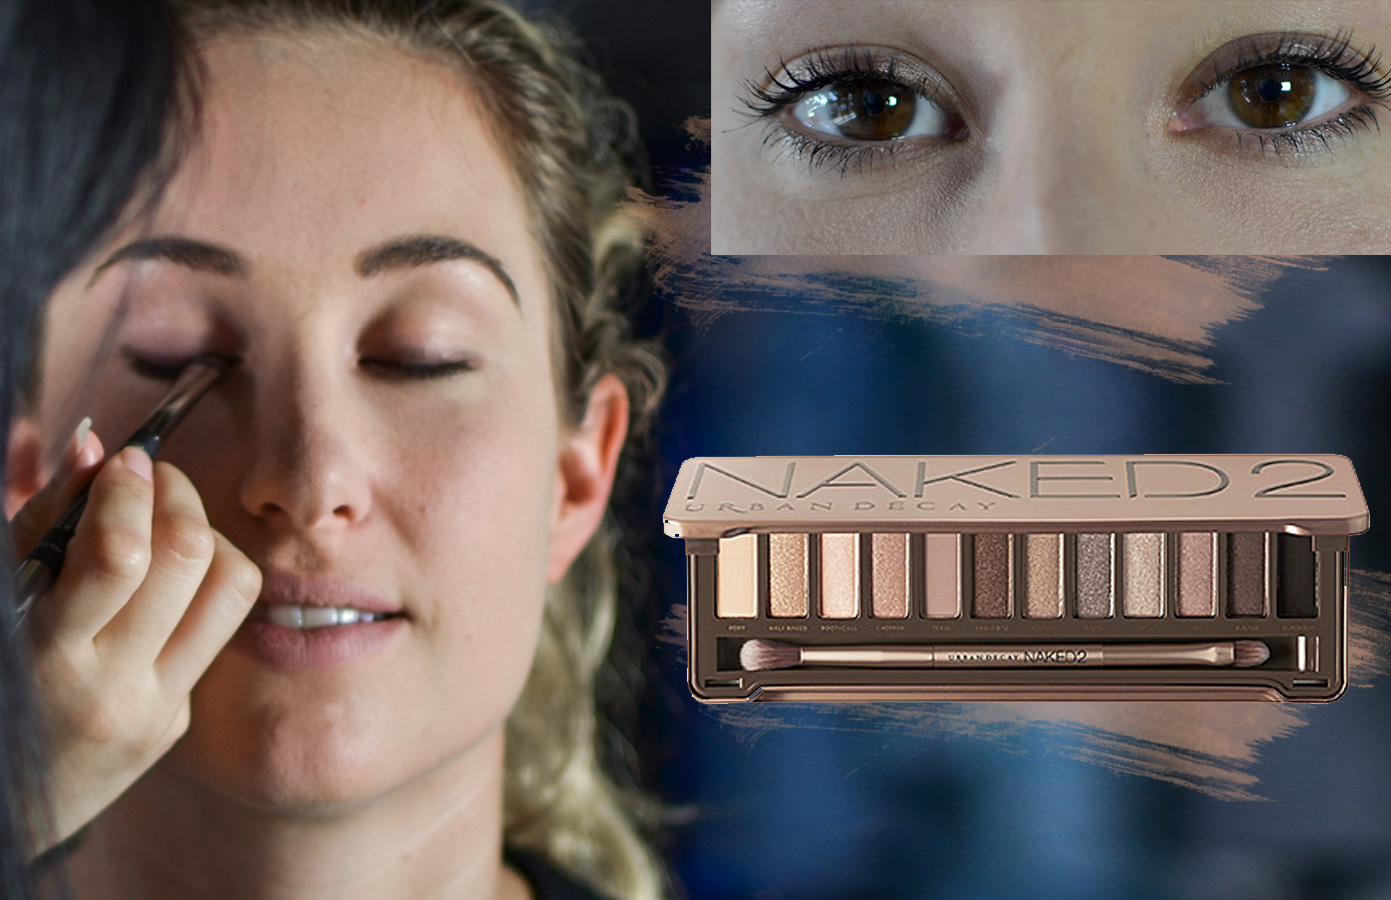
Step 7: Eyeshadow. The most important step here it not to over do it. Your eyes will be popping without eyeshadow, so don’t feel like you need to go overboard. Choosing a natural and nude shade (we used “Naked 2 Eyeshadow Palette from Urban Decay) and placing it like an eyeliner on the top and bottom lid will give you an effortless and barely noticeable effect.
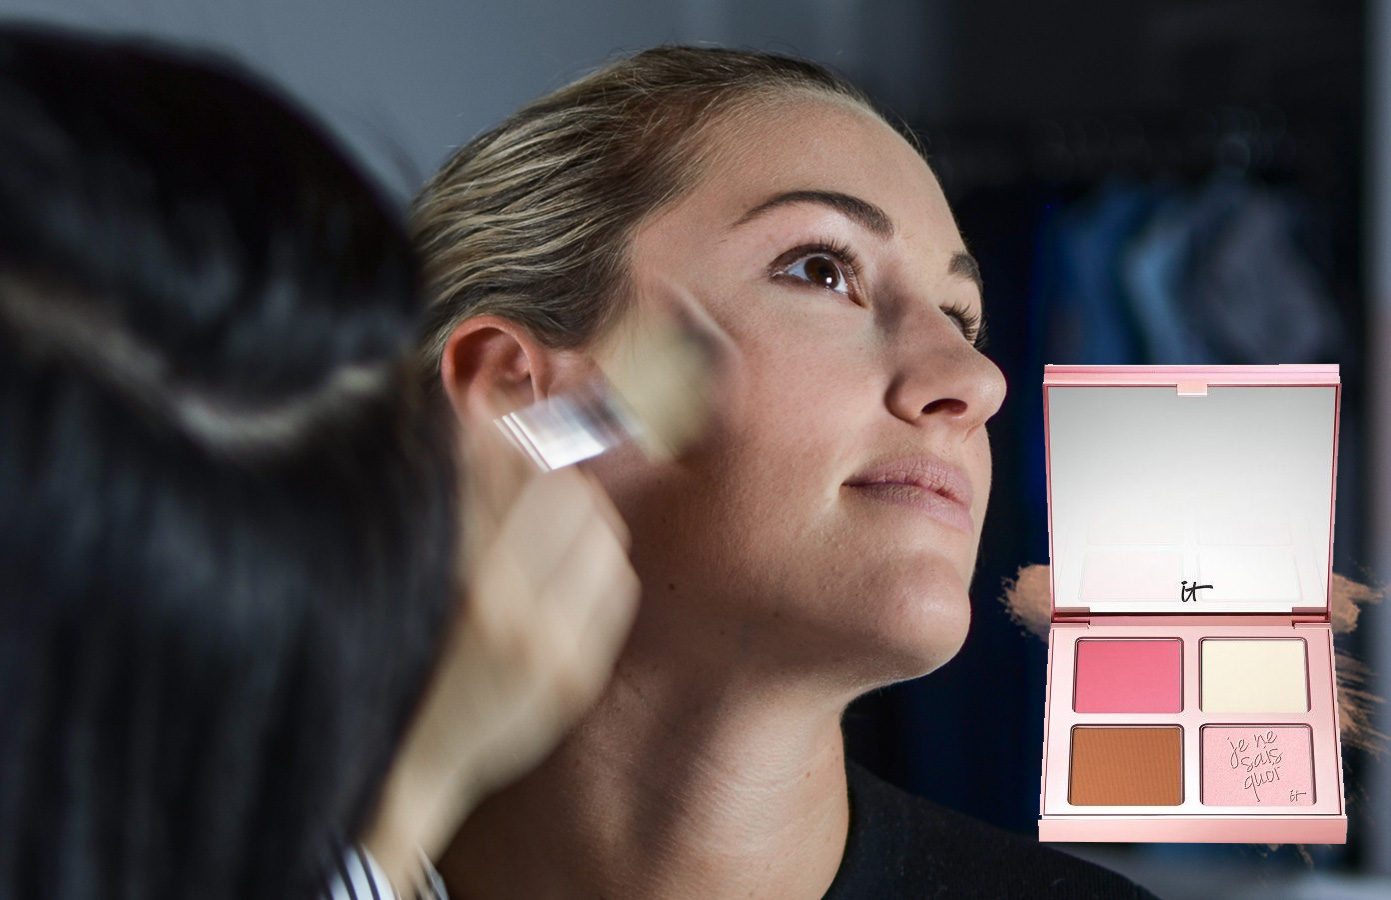
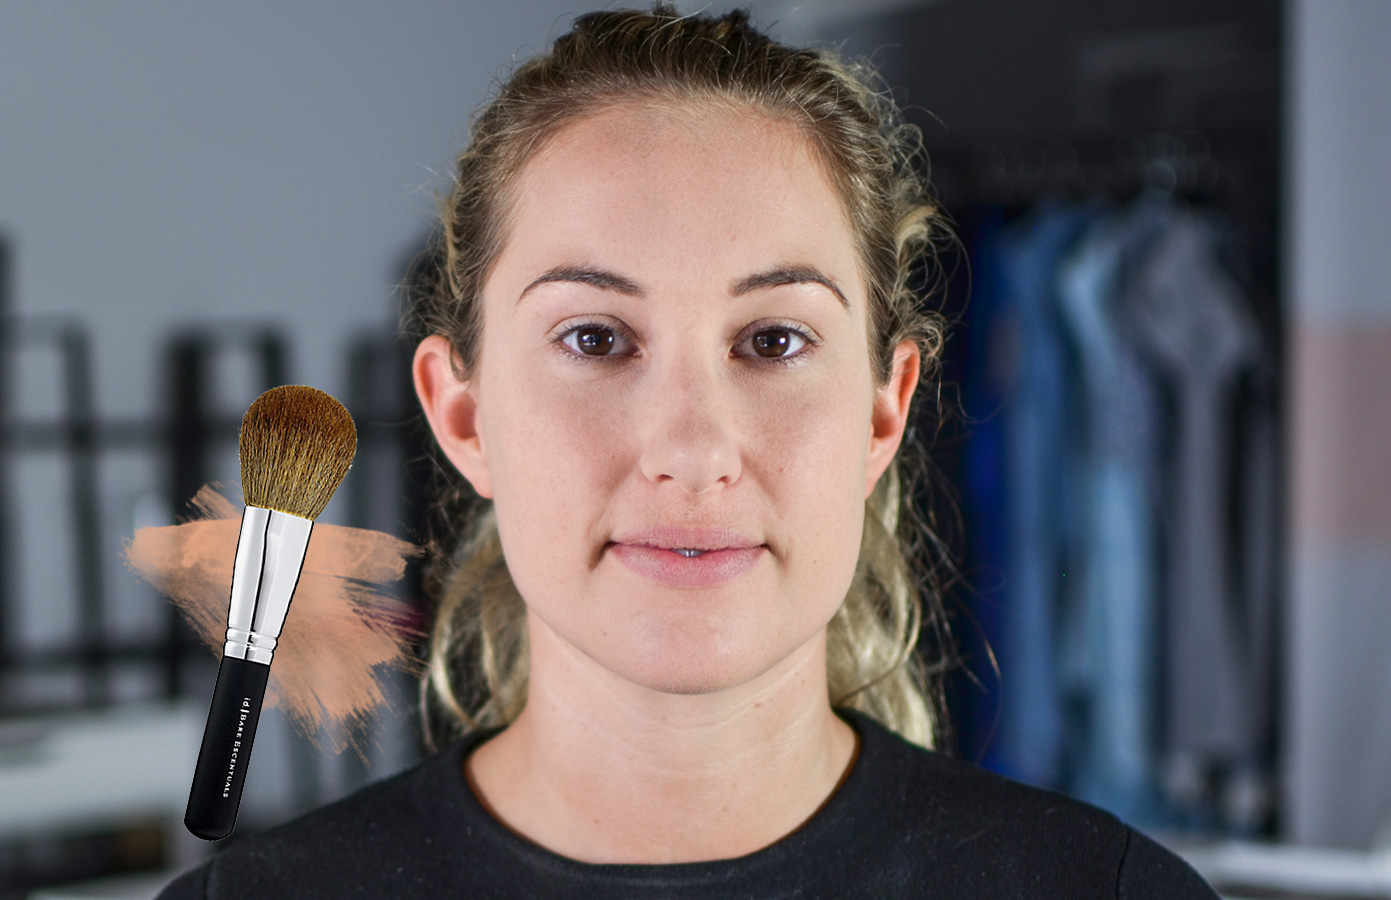
Step 8: Bronzer. These steps are our favourite! If you’re worried that you’re looking a bit flat and matte, this is where the life comes back. We’re going to be using the Je Ne Sais Quoi Complexion Perfection Face Palette from IT Cosmetics. Apply a light amount of bronzer to the cheeks only. There is no heavy contouring here as strong powder definition is almost always the dead giveaway. This means, no nose contouring and no jaw contouring. You’re beautiful – keep it light!
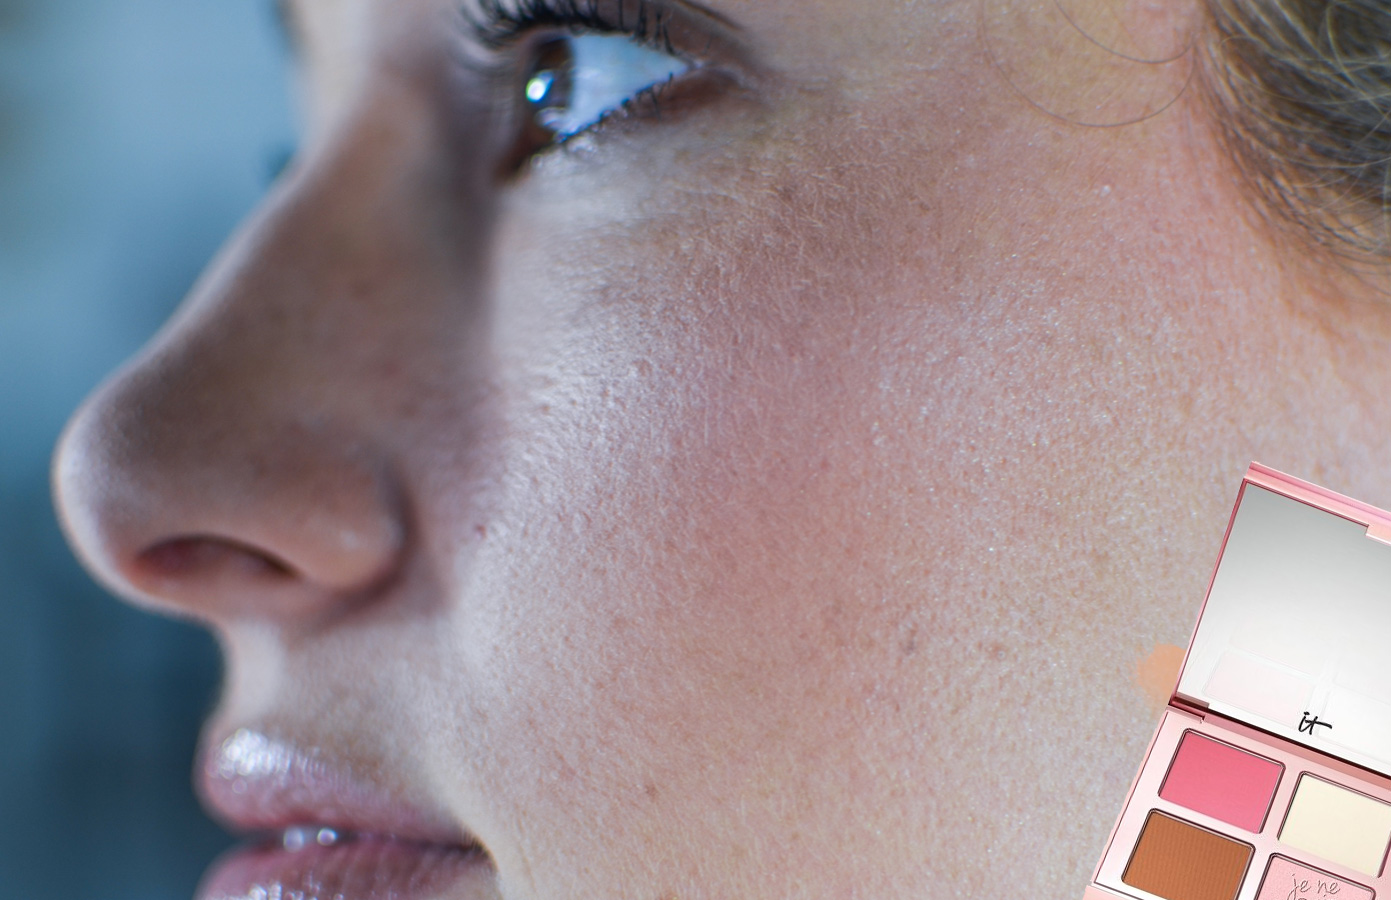
Step 9: Using the same palette, apply blush liberally to your cheeks and anywhere you normally have a bit of colour. Skipping blush is an absolute non-negotiable as this is where the life and colour of your face exist. Nobody has a monochrome face, so keep it human and add a little bit of colour.
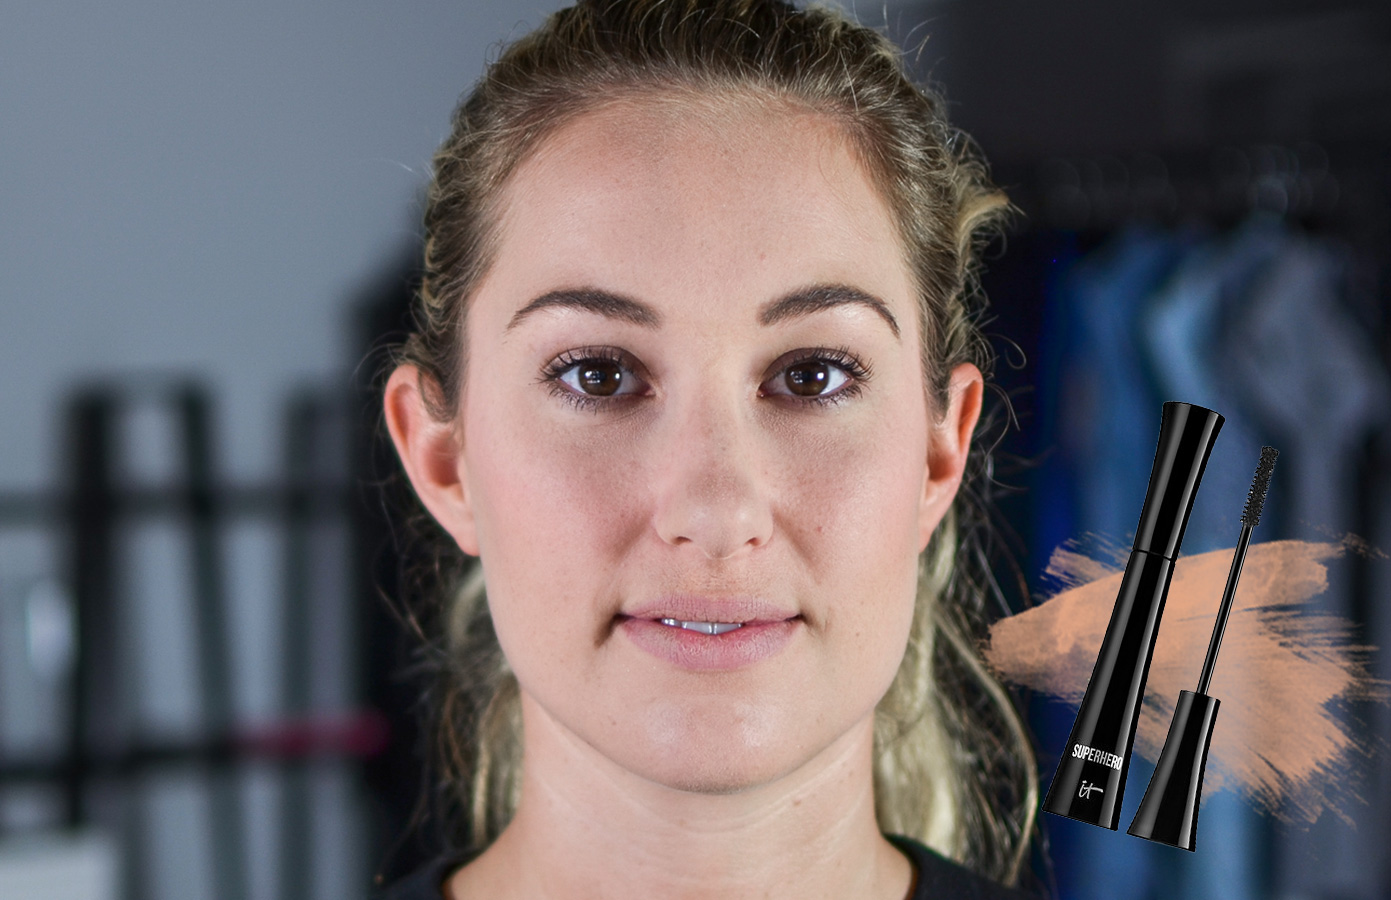
Step 10: Mascara. We’ve used the Superhero Mascara from IT Cosmetics and combing out any clumps with a small mascara brush. We’ve applied a liberal amount to the top lashes, and kept it minimal on the lower lash line.
Step 11: Highlight. As much as we overuse blotting paper during the day to keep ourselves matte and clear, a little bit of highlighter goes a long way. Using the same palette, add some shine on your cheekbones, underneath your eyebrows, bridge of your nose and cupids bow.
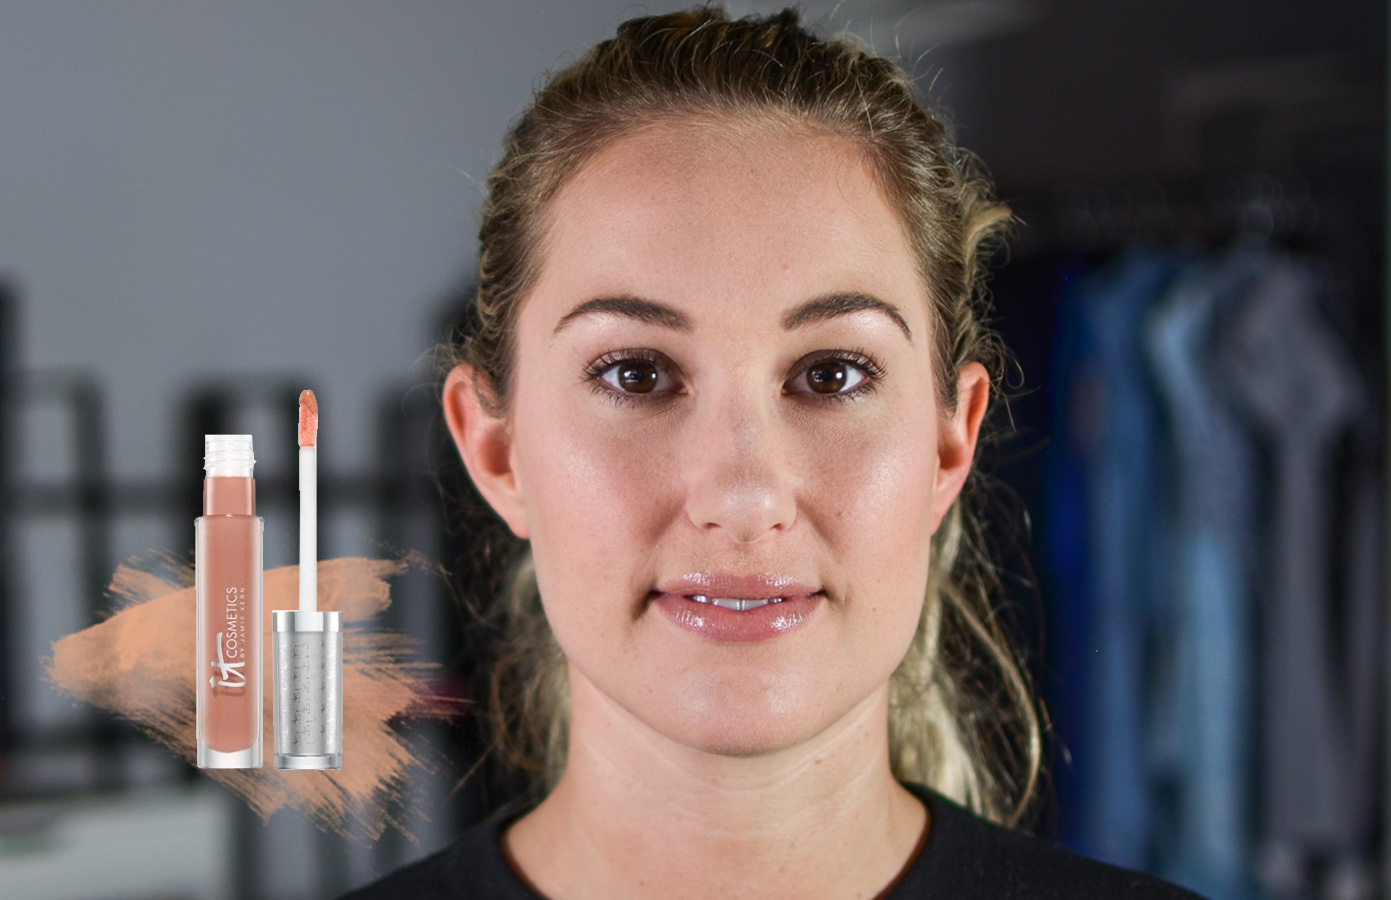
Step 12: Lips. Using your favourite lip scrub (we use Frank Body Lip Scrub for a quick and yummy cleanse) give your lips a good scrub. This is essential to clearing away any dead skin and priming your lips. We have then used the Vitality Lip Flush Butter Gloss from IT Cosmetics for a natural and glossy effect. Do not overuse, your lips should look plump and not look like they’ve been ripped from a 2000’s Lancome Juicy Tube commercial.

Step 13: Setting your look. A good setting spray will change your life. We are addicted the Urban Decay All Nighter Long-Lasting Makeup Setting Spray. Apply it liberally all over your face and let it dry for a dewy look that will last all day.

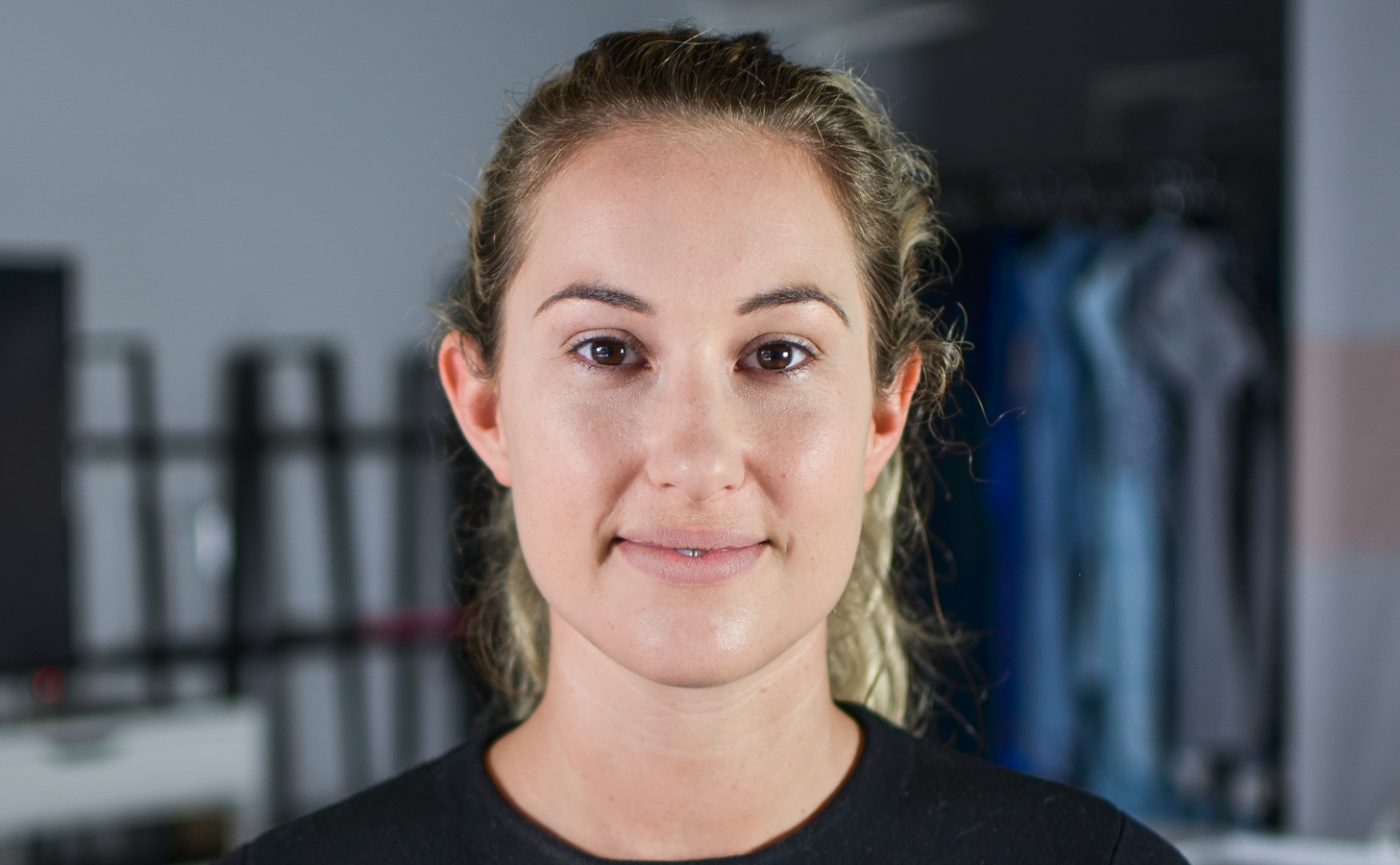
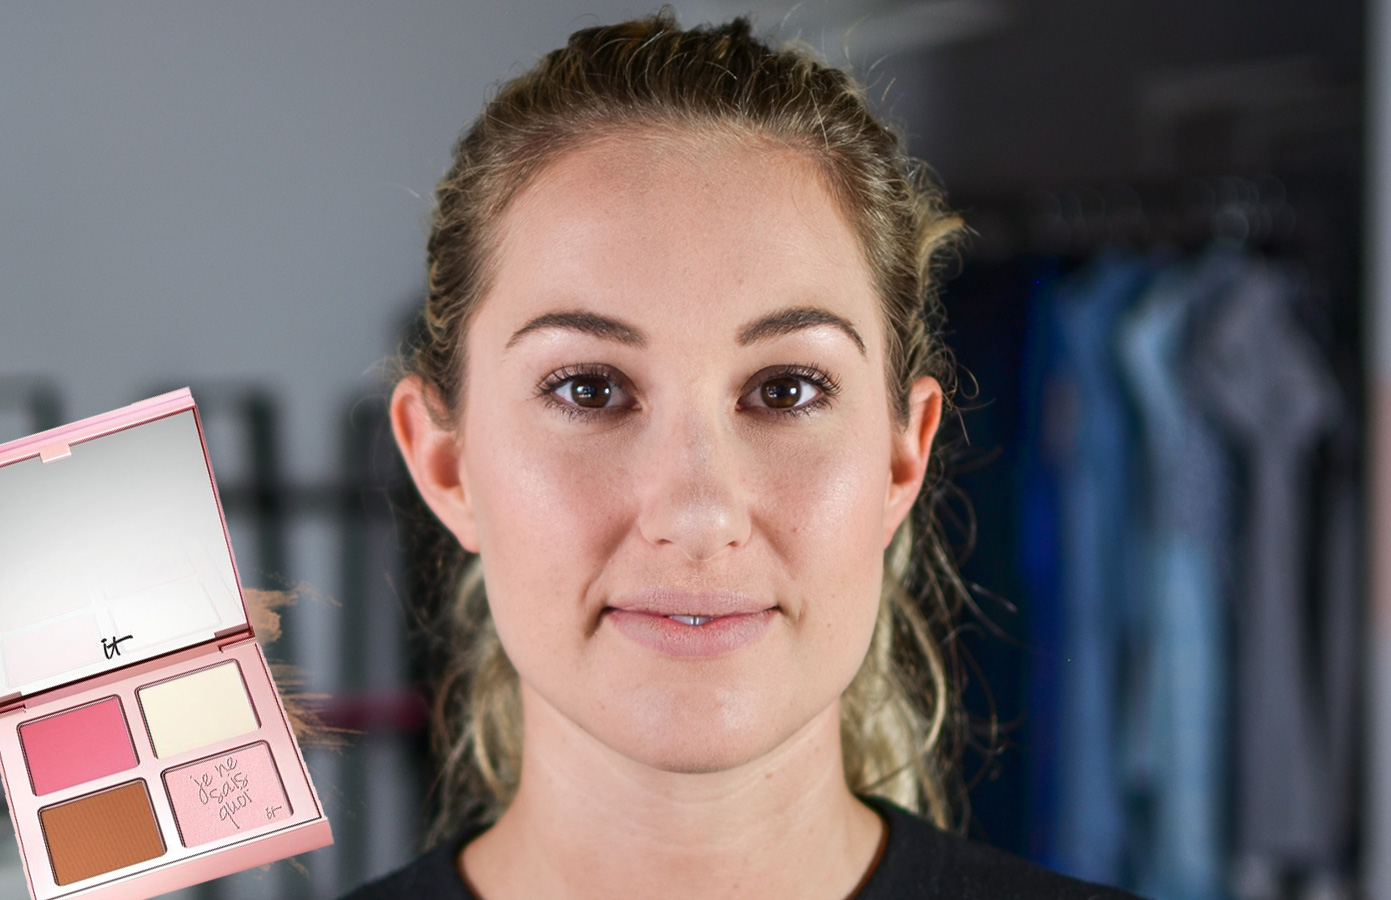
The look is complete! You can use this look for a crease and pore free, effortless and natural beauty look that you can wear all day without it melting. Let us know what you think on Twitter, Instagram and Facebook!
Leave a Reply